Sunday, August 3, 2008

Been Busy

dead eye

Jami's been busy.

Wednesday, October 24, 2007

You say bicyclette, I say bicilette


It's true I prefer the French pronunciation, but I like the Italian spelling best. If I ask pretty please can I have them both? No, for consistency's sake I'm going with the Italian (bichi-cle-tay). It's just as well, since my dream town is Mantova - where the local dish is pumpkin ravioli and bicycles outnumber cars on the street.

My pumpkin fairytale


One day we threw some seeds out the kitchen window, and overnight (it seems) we had a pumpkin patch. It makes for a lovely view while washing dishes, and in a pinch fed us and two friends. I used the left overs to make this soupy Thai dessert:

Ingredients
  • 1 cup coconut milk
  • 1/2 water
  • 1/4 of a pumpkin, peeled and cubed
  • a pinch of salt
  • brown sugar (or palm sugar if you can find it) to taste
  1. Heat the coconut milk & water in a saucepan over low heat.
  2. Add the pumpkin, salt & sugar.
  3. Cook until the pumpkin is tender. Serves 4.

Monday, October 15, 2007

I Love Zakka


I treated myself to this Japanese craft mook (magazine + book) because I loved the cover. Even though I had to pay twice the price, it was worth it. I've gotten a lot of inspiration from the photos, but the little girl's shirt from the cover was my first project. It's a very simple pattern. I used a yoke pattern I already had and cut the rest using my own measurements.

For the embellished neckline I used remnants from my scrap basket.

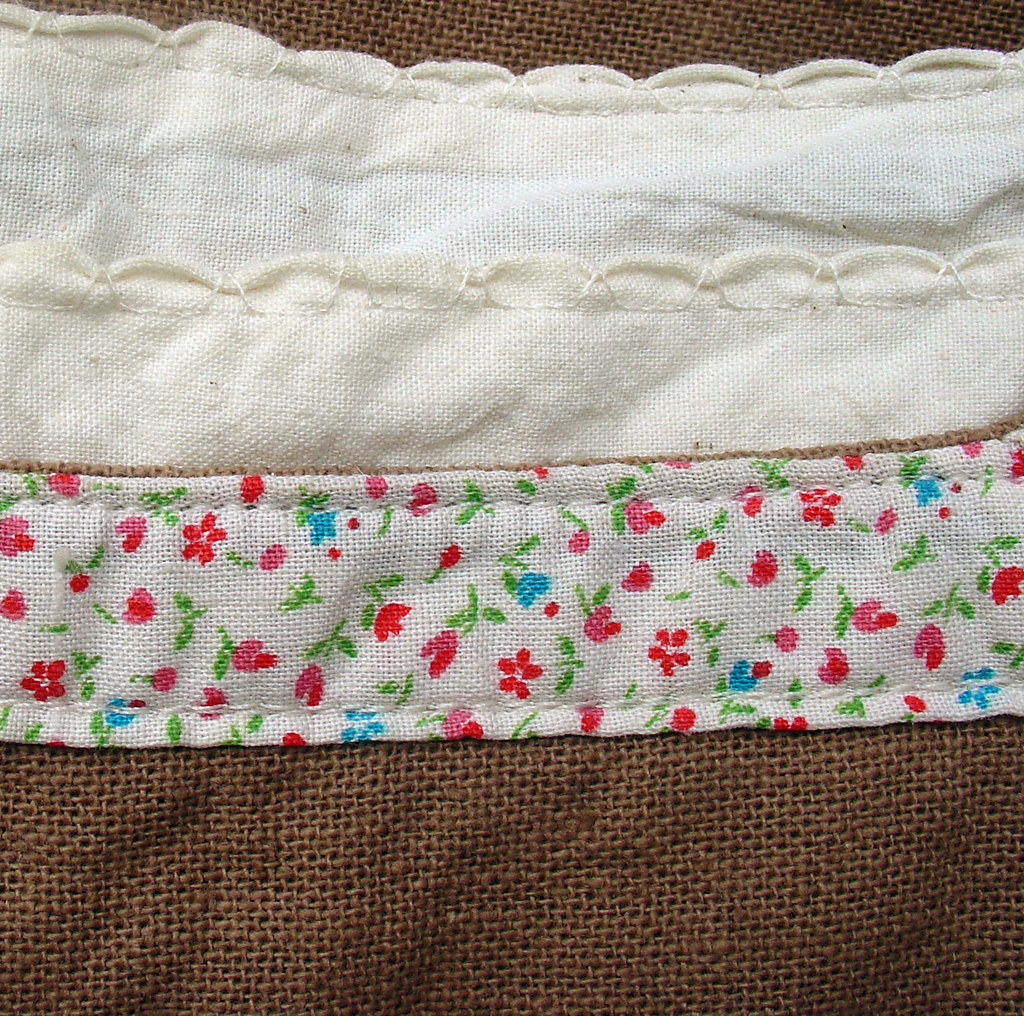
Here's a detail of the scallop trim which I made using one of the fancy stitch functions on my sewing machine.

I made a cropped jacket with bell sleeves to go with this blouse from handwoven hemp I picked up at the border. I love the coarseness of the hemp, but with time it will soften.

Saturday, October 13, 2007

Tien x Two


I think Thailand has the best cats in the world, but of those cats I have the most sweet and cuddly. He sleeps with me most nights curled under my arm. He endures my embraces like a plush animal, but his warmth and purring are much more comforting than any teddy from my childhood. Sadly there's only one real Tien, but I'm making stuffed versions for his many admirers. They're 100% cotton, with raw cotton stuffing, and their embroidered faces are friendly even for the very young.

Elinor goes to School


During the relaxed summer term at Nandachart Preschool, we took the opportunity to introduce our new pet - Elinor the Hedgehog. The preschool class was curious yet skeptical of the visitor. The handful that could be convinced to hold her whimpered "Jet, jet"... in other words "She hurts!". The kindergarten class, however, was fearless. We had a hard time holding back their little, poking fingers. They even enjoyed feeding Elinor the meal worms we brought along. It will take some figuring out, but I plan to make an Elinor doll in the same fashion as the one I made of Tien. In this way even the most sensitive hands will be able to hold her.

Friday, October 27, 2006

Indigo Workshop


Ever since I started sewing, I've had an interest in natural dyes. A few weeks ago during the height of indigo season I attended a three day indigo workshop at Studio Naenna. The first day we went out into a neighboring field and cut several wheel barrow loads of indigo. We wrapped the leggy plants into bundles, then carefully filled about 8 garbage cans with 15 kilos worth of bundles and water to cover them. Then we placed a rock on top to keep them from floating up. As the bundles soaked over night the indigo pigment leached out of them, and on day 2 they were ready for "beating." Dane came on the second day to take the place of a sick participant, and we were glad for the extra muscle. In the "beating" process, you incorporate builders lime into the indigo-laced water by scooping and pouring the water back and forth in the can. The process is complete once the water has turned from a light green to a dark blue, and takes about 20 minutes of scooping and pouring!

This is a video of the beating process.

The workshop instructor didn't let anything go to waste. She had pans to catch every little splash from the beating, and the bundles that we removed from the water previously were dried in the sun to be burned later. The ashes are used to make ash water, the mordant for the dye. After beating the fresh buckets we began to dye our fabrics using an existing dye pot. Good indigo dye pots are maintained in a very delicate balance. Before dying anything, you have to scoop out a cup full of the dye to add back to the pot at the end to replenish the exhausted dye. It's a bit like making yogurt or sourdough bread, with cultures and all. Dane and I dyed handwoven cotton, pictured above, that we purchased from the studio. The fabric is narrow because it's woven on a backstrap loom.
On day 3 we filtered the water that we beat the day before through a tightly woven cloth to collect the indigo paste that settles to the bottom. It's this paste combined with ash water, sugar, an indigo culture, and a little alcohol that makes the dye. In fact, the dye is a dark olive green instead of blue. The fabric turns blue once it hits the air and oxidizes. It's a really amazing process.

These are the indigo bundles after soaking overnight.

The spent bundles are taken out in the sun to dry.


Dane beats builder's lime into the water to bind the indigo.

Dane prepares his fabric for dying by folding and tying it.

Another participant adds her fabric to the dye pot.

See how green the fabric looks when it first comes out.

Shaking the fabric helps to oxidize the dye which turns from green to blue.

Here is our fabric dying at the studio before we untied it.